You don’t need an expensive rig to help your students get experience in virtual reality storytelling.
By Adrian Ma
As more news outlets invest time and resources into virtual reality storytelling, the Ryerson School of Journalism has been keeping pace by experimenting with immersive content in our courses.
Now, of course, not all VR is created equal. We’d absolutely love for every one of our students to have access to 360 degree GoPro rigs to produce stunning work like Sports Illustrated’s “Capturing Everest” documentary feature. But we don’t have that kind of broad capability yet.
Instead, we wanted to play around with a tool that was freely available, easy-to-use and compatible with whatever smartphones were in our students’ pockets. We came across Google’s Story Spheres, an immersive audio and visual tool that’s being beta tested. The tool allows you to layer audio tracks onto a 360 Google Maps Street View panorama image, which can then be exported and embedded to the web and viewed using a VR headset. It’s not true video, but it combines visual content with interactivity. More advanced users can stitch together several Story Spheres to create a multi-stage immersive journey. Think of Story Spheres like a baby step towards using full-on VR. The Washington Post actually used it as part of its 2015 New York Fashion Week coverage, with admittedly mixed results.
What I’d like to share with you in this post are some observations our class made after using Story Spheres in a reporting assignment. Overall, we found Story Spheres to be a quick and relatively easy way to create immersive content without the expense or technical prowess required of a 360 camera rig. It can be an effective way to liven up online stories and offer the audience unique vantage points. It can also be a little challenging to use. Here are some tips on maximizing your results:
1. Limit the amount of motion in the shot
If you’re using a single lens camera, as opposed to multiple cameras simultaneously, motion is extremely difficult to capture for a panorama. Some newer smartphones have motion settings that may make capturing action sharper, but for the most part, scenes that involve people playing sports, vehicles zooming past or anything that moves with haste often come out blurry or disjointed. In our experience, we found the best results were when students captured scenes with minimal movement. I really liked this example by RSJ student Margaret Macintosh. She chose to capture a scene in a quiet coffee shop, which works well for Story Spheres.
2. Really great audio brings the whole thing to life
The limitations of shooting 360 content with a smartphone can be frustrating, but we found that, even with an absolutely gorgeous visual, it was the audio that truly made the pieces more compelling. Take the opportunity to produce rich, well-recorded audio to complement your panorama, incorporating background sounds, natural ambience, interview clips and even music. The tool allows you to choose to place specific audio markers on the piece or to autoplay a single track, so you can create multiple sonic elements or weave together a focused audio narrative. We found this ability to quickly pull together interactive visuals with audio could be a great tool for radio producers to bolster their online content. I love how an ethereal piano swirls around an interview in student Atara Shields’ Story Sphere.
3. Take multiple attempts and experiment with shooting
It’s a fairly user-friendly platform, as you really only need to upload and place your audio (or choose auto-play) once you’ve uploaded a panorama image. Below, you’ll see a couple of tutorial videos by U.K.-based production teacher Mike Downes that’ll show you the ins and outs of the interface.
Getting the images to line up together can be tricky and one should not expect the seamless 360 you can achieve with more expensive, advanced technology. I’ve got some additional tips here from my colleagues Lindsay Smith and Sally Goldberg Powell, who are members of the RSJ technical staff specializing in online and video production.
-
Make sure the Google Street View app is set to automatically save the image to your camera roll. This seemed to make a difference in quality.
-
Capture all 360 spherical degrees. There were some instances where students didn’t capture shots of the floor/ground and ceiling/sky. On the app, when you’re capturing the image, you should notice an orange circle. Once you’ve captured all the required images it should turn green with a checkmark in the centre. If you miss taking those shots, Story Spheres will stretch the image to compensate for the missing areas. The results can be ugly.
-
In our experience, it seems that being a further distance from the scene you’re shooting helps with the quality. Experiment with proximity for best results.
-
Hold the camera close to your body and pivot in one spot to get the best effect. Try not to travel from the spot you are standing in. That will help to avoid wonky looking buildings and other straight lines that get distorted trying to compensate for your movement.
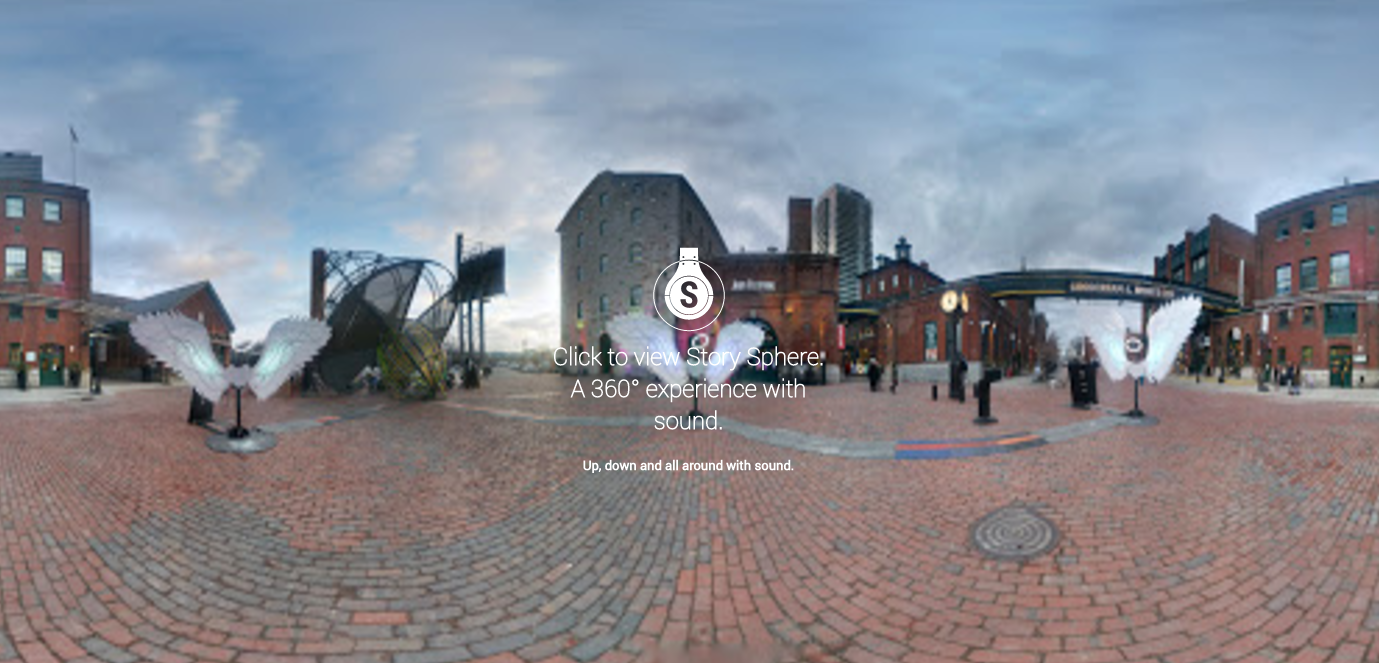
So, if you’re interested in shooting some immersive content but don’t have access to proper 360 rigs, play around with Google Story Spheres. It’s definitely a worthwhile exercise and can produce some lovely results, like this final example from student Kayla Douglas, who attended an art installation in Toronto’s Distillery District.

